
Introduction

In previous posts I looked at OpenPlotter2, then recently OpenPlotter3 (Ref.1/6). I looked at various aspects including GPS, AIS, WeFax, Navtex and Sensors. In this post I will look at OpenPlotter4 on RPi4 with AIS, GNSS and Sensors.
Installation


Figure 2 shows the OPV4 starter image which I downloaded from Ref.7. Then I used the Raspberry Pi Imager to format a 32Gbyte microSD card for the RPi4 following the installation instructions Ref.8. Once formatted, I booted the RPi4 with the microSD. A Starting OpenPlotter window opens, wait till this finishes (check any warnings). Next I went into Main/Preferences/Raspberry Pi Configuration, reset the Password and enabled SSH, VNC and I2C. Running OpenPlotter/Settings you will see the default packages installed and updates available by hitting Refresh. First I updated Settings/SignalK Installer/OpenCPN Installer. Then I installed SDRVHF/PyPilot/I2C/GPIO one by one, they take several minutes. Finally I went into SDRVHF and installed Gqrx. The Settings should now show as in Figure 3.
AIS Setup


In order to setup the AIS, go into the SDR VHF menu as shown in Figure 4. If the RTL-SDR is associated with Gqrx, then unassociate it within Gqrx by choosing another input device. Now highlight AIS, Edit and setup the RTL-SDR for Gain, PPM etc as shown in Figure 5.
OpenCPN


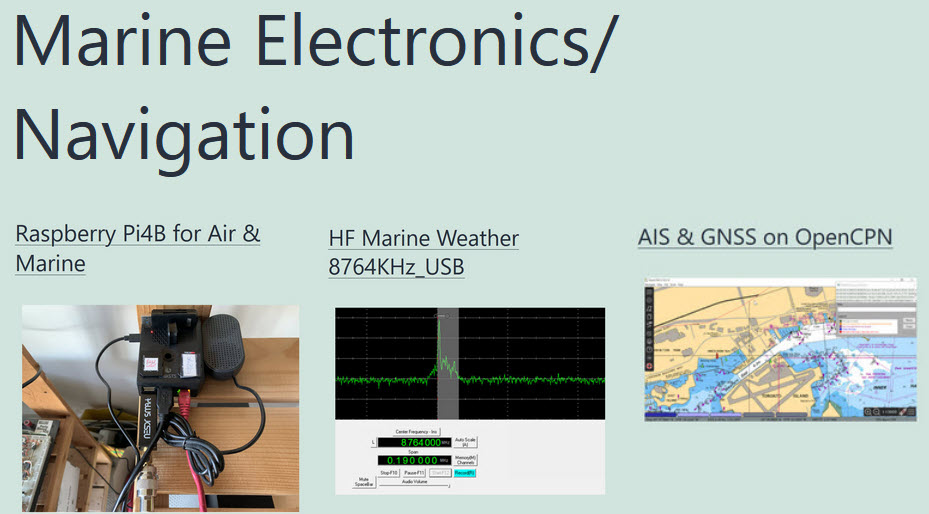
In order to see the AIS & GNSS in OpenCPN, you need to setup the connections as shown in Figure 6. In my case I ran the GNSS separately by a serial connection to OpenCPN rather than within SignalK. Figure 7 shows my QTH and Figure 8 shows local AIS contacts. The AIS in OPV4 is vastly more sensitive than earlier versions, where I can now receive contacts from my home location whereas previously I couldn’t.
Sensors


Figure 9 shows the attachment of the GY-91 sensor board to the RPi4 GPIO. The board has a voltage regulator, so you can use 5VDC or 3.3VDC as Vin. Figure 11 shows the I2C menu for adding the Temp/Pressure sensor BMP280 (small metal rectangle on pcb). Figure 12 shows the PyPIlot menu detecting the MPU9250. Figure 13 shows the SignalK server activity and Figure 14 shows the SignalK Web Server instrument panel.
Please send your comments, questions and suggestions to:
contact:

References
#1. – “OpenPlotter3 – AIS & GPS on RPi3B
https://jeremyclark.ca/wp/telecom/openplotter3-ais-gps-on-rpi3b/
#2. – “OpenPlotter3 – Marine NAVTEX”
https://jeremyclark.ca/wp/telecom/openplotter3-marine-navtex/
#3. – “OpenPlotter3 – Marine HF Weather Fax”
https://jeremyclark.ca/wp/telecom/openplotter3-marine-hf-weather-fax/
#4. – “OpenPlotter3 – Headless for GPS & AIS on RPi4”
https://jeremyclark.ca/wp/telecom/openplotter3-headless-on-rpi4/
#5. – “OpenPlotter – AIS Connection”
https://jeremyclark.ca/wp/telecom/openplotter-ais-connection/
#6. – “OpenPlotter – GPS Connection”
https://jeremyclark.ca/wp/telecom/openplotter-gps-connection/
#7. – “OpenPlotter Download”
https://openplotter.readthedocs.io/latest/getting_started/downloading.html
#8. – “OpenPlotter Installation”
https://openplotter.readthedocs.io/latest/getting_started/installing.html