
Introduction
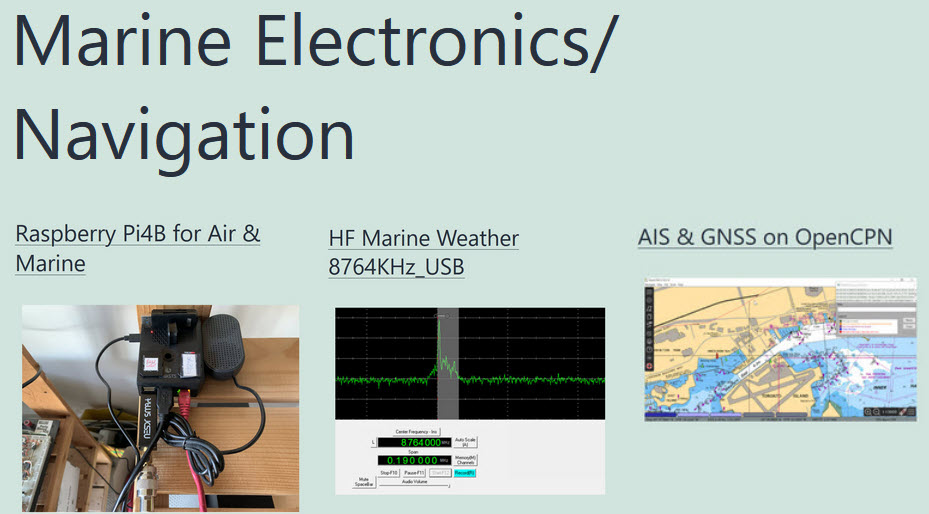
Previously all my work on OpenPlotter was done on an RPi3B+ installed in a PI-TOP3 development Laptop that featured a screen, keyboard, and proto board connected to the GPIO (Ref.2-Ref.9). I started with the basic installation, OpenCPN with GPS, OpenCPN with GPS & AIS, Marine Weather on GQRX, Sensors for Temp/Pres/Pitch/Heel/Compass Bearing and GRIB weather files. My next project is to install OpenPlotter Basic/Headless on an RPi4 with all the features as before, but additionally with a WiFi hotspot so I can control the unit from an iPhone or laptop remotely. Power to be supplied by a portable solar panel/lithium battery. Figure 1 shows the PI-TOP3 stand alone configuration, remote control of the PI-TOP3/RPi4 on a home ethernet connection, and finally the RPi4 remote connection using a WiFi hotspot.

Installation
I purchased a standard RPi4 starter kit on Amazon. Assembly was straightforward. Heat sinks were applied over the processors and the fan was installed and connected to the GPIO. The unit came with a preloaded SD card with NOOBS and Raspbian. Since I wanted to install an image, I had to reformat the disk. I inserted the SD card into my Win10 laptop and detected the disk # using the computer management utility. Then I used the “diskpart” utility to detect and clean the disk:
diskpart “list disk”, “select disk_x”, “clean”.
Then back to the computer management utility to create “A New Simple Volume” (Full size, FAT32). I downloaded the Basic/OpenPlotter/Headless Image zip file (Ref.1), unzipped it, and used the RaspberryPi Imager to install the image on the now formatted SD card.
I inserted the SD card into the RPi4 and booted. Since at this point it was not configured, I used an HDMI connection to my TV with USB keyboard/mouse. The system booted up, I configured the Raspbian items and updated the software over an Ethernet connection on my home router. I made a note of the VNC address (198.162.0.14).
OpenPlotter started properly with an error message to change the WiFi default password (Figure 2). Figure 3a/b shows the OpenPlotter Settings. I opened and installed SignalK, Network, CanBus that were highlighted.


Network Settings
After these items were installed, I rebooted and opened the OpenPlotter Network menu item as shown in Figure 4. I used the settings as shown, and did not select 5GHz or add Ethernet Port. In the left hand box at the bottom there is a pen symbol which you click to accept these settings. Then add an SSID name and password. I picked a password that would be easy to type in on the iPhone! I almost hit the save symbol, but a warning came up. Then I checked the manual and it said that if you were connected to a router this would cause possible errors/problems. I removed my Ethernet connection and reconnected to my TV/keyboard+mouse combo to write the WiFi settings. The new VNC server address was 10.10.10.1.

iPhone Connection
I downloaded the VNC Connect (Server + Viewer) app from the iPhone store and installed it. The idea being to use VNC Viewer on the iPhone just like I did on the laptop. The app was a bit confusing at first, I tried all the menu items. Finally I went to Address book, and entered the IP of 10.10.10.1 that the VNC server had on the RPi4 and the name pi. I was able to connect over the WiFi. I had previously activated the iPhone WiFi and connected to “openplotter”. The RPi4 desktop appeared and VNC viewer also had a quick tutorial of how to simulate a mouse with finger movements!


Please send your comments, questions and suggestions to:
contact:

References
#1. “Open Plotter Basic/Headless Image”
https://openplotter.readthedocs.io/en/latest/getting_started/downloading.html
#2. “OpenPlotter – GRIB Files”
https://jeremyclark.ca/wp/telecom/openplotter-grib-files/
#3. – “OpenPlotter – Sensors_b”
https://jeremyclark.ca/wp/nav/openplotter-sensors_b/
#4. – “OpenPlotter – AIS+”
https://jeremyclark.ca/wp/nav/openplotter-ais/
#5. – “OpenPlotter – Sensors_a”
https://jeremyclark.ca/wp/nav/openplotter-sensors_a/
#6. – “OpenPlotter – RTL-SDR for VHF/AIS”
https://jeremyclark.ca/wp/telecom/openplotter-rtl-sdr-for-vhf-ais/
#7. – “OpenPlotter – AIS Connection”
https://jeremyclark.ca/wp/telecom/openplotter-ais-connection/
#8. – “OpenPlotter – GPS Connection”
https://jeremyclark.ca/wp/telecom/openplotter-gps-connection/
#9. -“OpenPlotter – Naviagtion System on RPi”
https://jeremyclark.ca/wp/telecom/openplotter-navigation-system-on-rpi/